A very exciting day for the railway with arrival of an Accucraft GP40 locomotive which had been on order since January 2025.
Towards the end of 2024, I had been thinking about building or buying a larger locomotive, which would be able to handle the grades of up to 3% on the railway. After exploring some ideas of building a loco using commercially available drive bogies, I decided that the Accucraft GP40 locomotive would be a good option, as I preferred a nicely-detailed loco based on an actual prototype rather than a freelanced design.
The initial inspiration came from a YouTube video of a US miniature railway with a loco in the Florida East Coast Railway livery, as the red-orange, yellow and black reminded me of the 1970's experimental International Orange livery applied to a couple of then WAGR (Western Australian Government Railways) standard gauge locos, including L Class L257.
Although there are significant differences between the US GP40 loco and the L class, the overall shape is similar including the low "nose" on the short hood. In the mid 1970's, when this livery was current, I was inspired to hand paint a Bachmann GP40 loco to act as a "good-enough" L class for my HO scale model railway.
 |
| L257 "International Orange" Livery - WAGR 1974 Publicity Photo from Rail Heritage WA |
When I first enquired with Accucraft, they advised that the loco was made in Japan, but shipped to China for custom painting, and that I would have to arrange shipping from China to Australia. Fortunately, an online search revealed a company - Shipping Solutions - which was able to handle all aspects of the importation, by sea container, including customs and GST payment. Once I had confirmed that the import process was manageable, I paid an initial deposit to Accucraft to secure the order.
A friend was able to source an original WAGR drawing showing the details of the paint scheme, and I prepared a drawing showing the livery overlaid onto an outline drawing of the GP40 locomotive. I bought 1 litre tins of painted tinted to the appropriate Australian Standard colours for International Orange and Golden Yellow, which I used to prepare colour samples which I posted to the factory address in China.
Accucraft initially estimated that the finished loco would be ready to ship from China in May, but that proved optimistic, partly due to the US tariff situation which meant that other locos being prepared for US customers took precedence to beat the tariff deadline.
One issue that I became aware of some time after placing the order was the difference in wheel standards for 7¼" gauge in the US compared to Australia. The common US profile is defined by the International Brotherhood of Live Steamers (IBLS). The corresponding organisation in Australia is the Australian Association of Live Steamers (AALS). The area of concern was the wheel check gauge, which affects how the wheels interact with the frog and check rails when negotiating points (turnouts). Despite the common 7¼" track gauge, the IBLS wheel check gauge was 3.5 mm wider.
Accucraft offered a choice of the IBLS wheel profile or an alternative RMI-25 profile which has a slightly deeper flange which more taper on the front of the flange. I elected for the RMI-25 flange profile, hoping that the more tapered flange would help when running through points. Although I was confident the US wheel profile would run ok on normal (plain) track, I was expecting that negotiating the curved, diverging leg though points could be a problem, which turned out to be the case.
Around the end of June 2025, Accucraft advised that the loco was ready to be shipped from China and the previously arranged shipping plan swung into action, after I had paid a 50% deposit for the shipping component. The crated loco was loaded into a shipping container with other small LCL (Less than Container Load) freight, and on a ship bound for Fremantle.
A few days after arrival, the container was transferred to a freight depot in Welshpool, WA, where it was to be unloaded ready for pickup and final delivery. This proved to be a complication as the freight depot had a slot booking system for freight to be picked up, and the company based near Albany which I had engaged for the final delivery, didn't understand that they needed to make the booking prior to pickup. Their next schedule run to Perth wasn't for another 2 weeks, so I sought a quote from Freight Lines Group (FLG) for the transport to Denmark. Although this hiccup resulted in a delay of 3 days, FLG did a good job and made the final delivery right to our door using a small truck with tail lift. As this was the last delivery for the shift, the delivery driver even offered to wait while we unpacked the crate and helped lift the loco onto the track. What service!
 |
| The loco strapped to the base of the shipping crate. |
 |
| After removing the ratchet straps and most of the packaging. |
 |
| After some heavy lifting to place it on the rails. |
 |
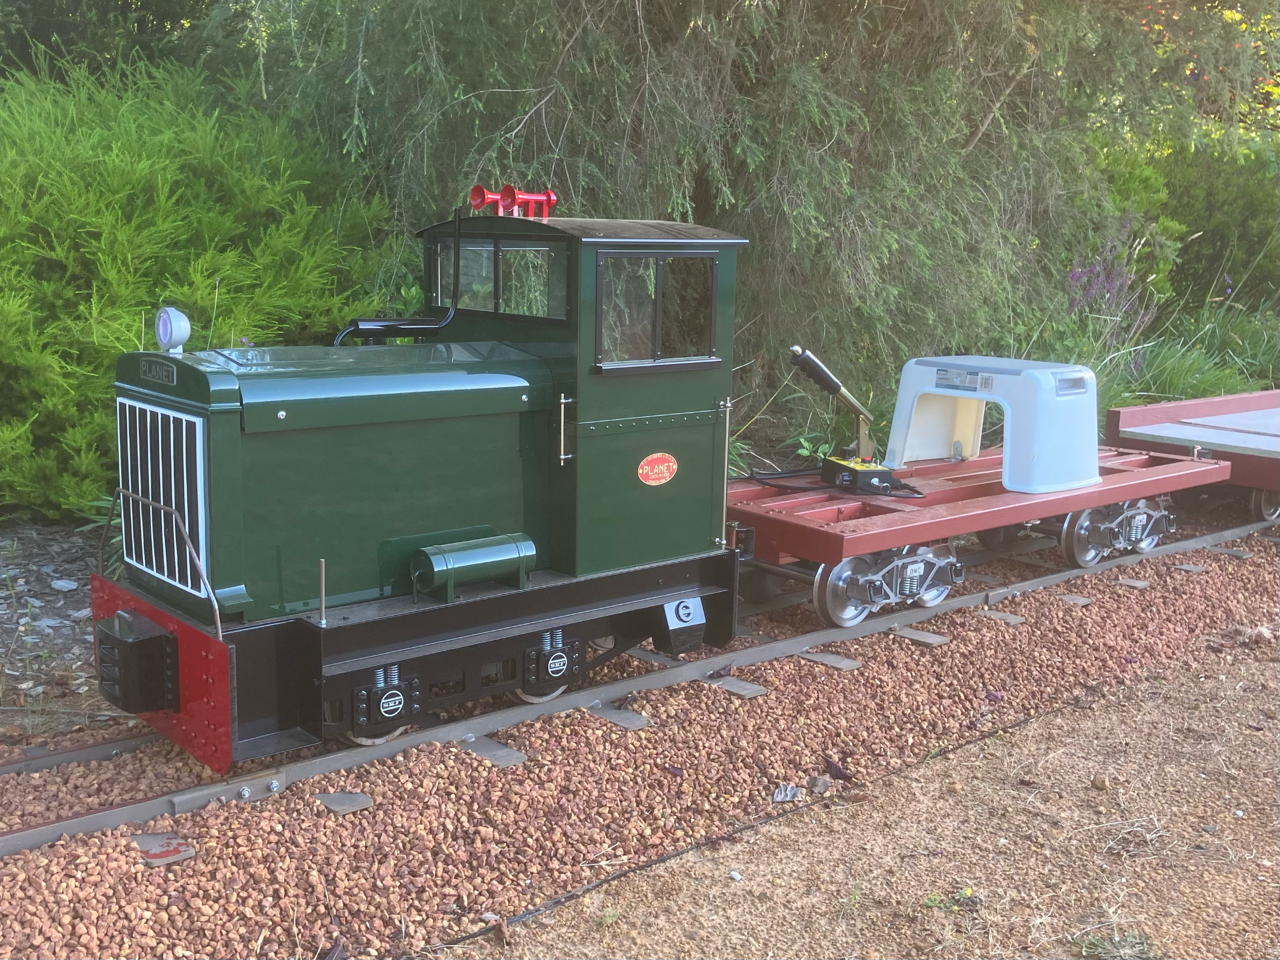
| First test run, although without the electronics installed, it was being pushed by the Planet 2 loco. |


